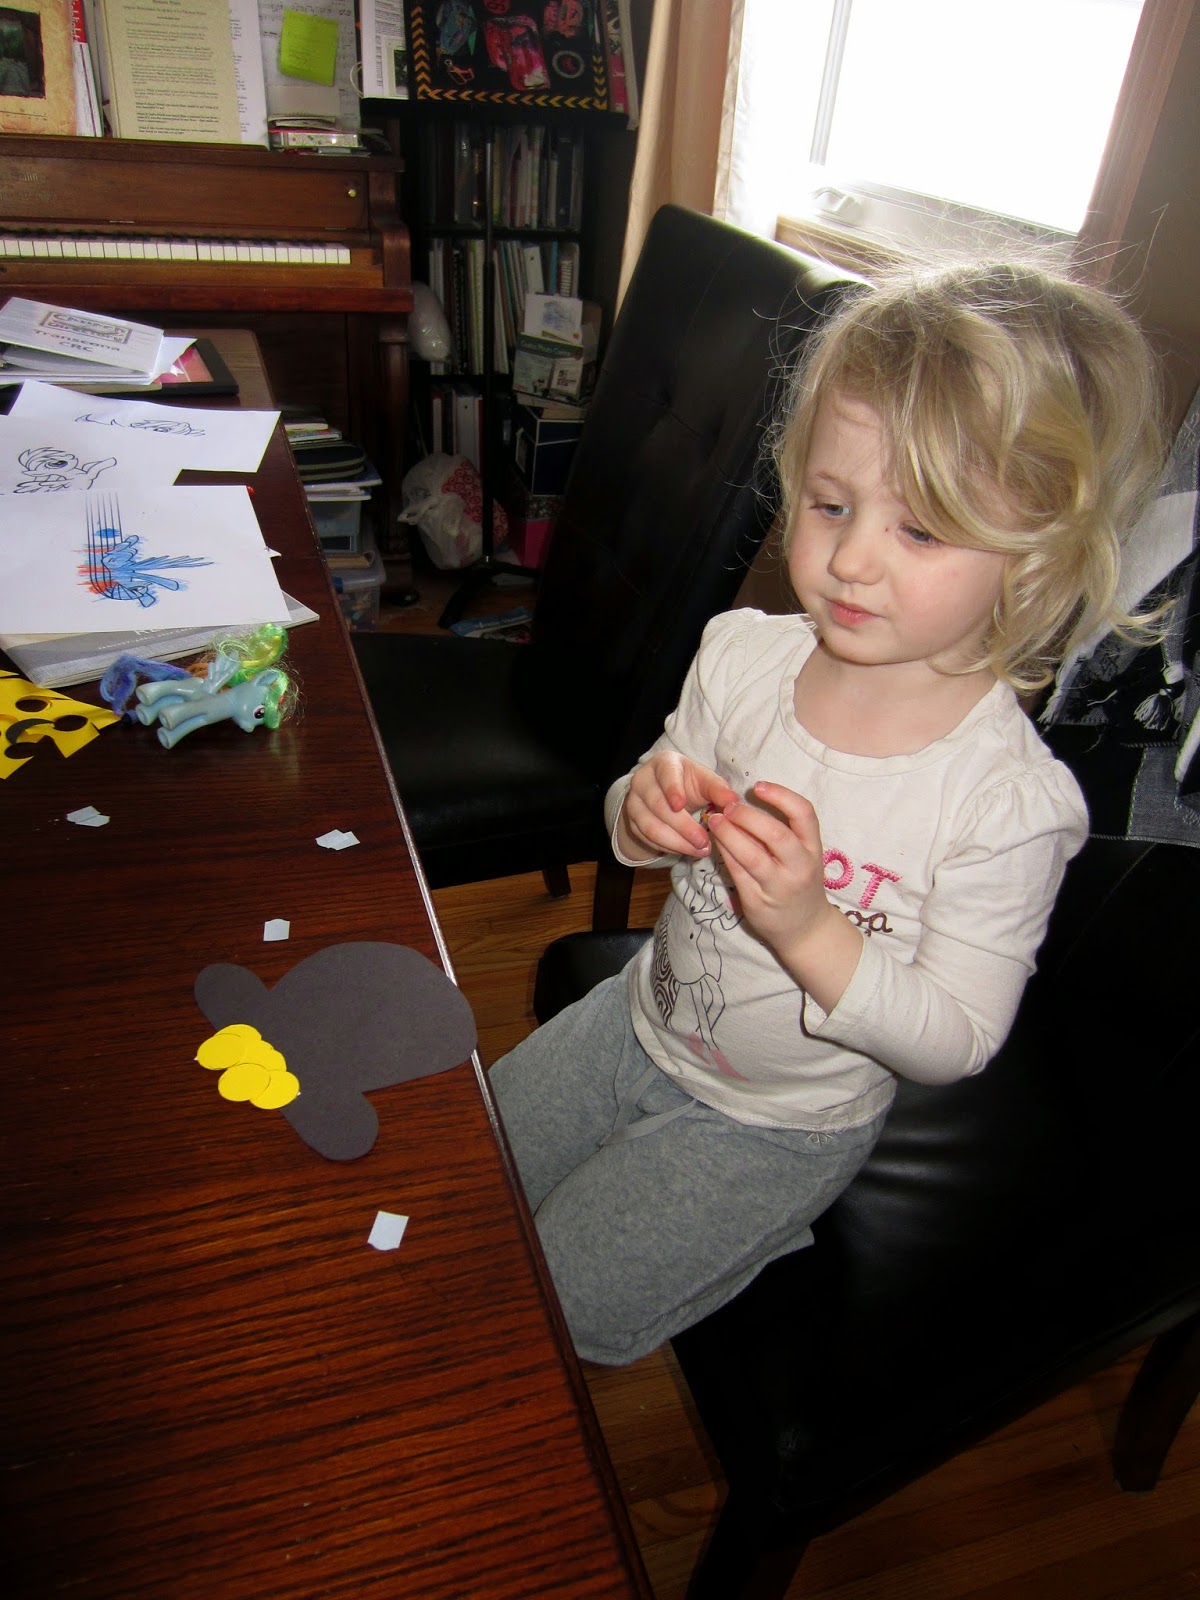
First I cut strips from various coloured card stock and cut circles from yellow card stock. The strips will become the rainbow and the yellow circles will become the gold.
Then I cut pots and strips from black construction paper. (You could use construction paper, card stock or both for this craft).
I also took out my photo mounting squares and Scotch tape (the tape didn't make it in the photo). This is WAY less messy than glue and I didn't really want to be cleaning up glue for the rest of the day. These are super easy to use and Annalise was able to do it all on her own. Emilie, of course, needed help.
Here I've put the photo squares on the yellow dots for Emilie. I showed her with one how to attach it to the pot and she went wild with the rest. Of course, she didn't put them where I would have put them but that's what makes her work beautiful and unique! :)
Here's Annalise working hard at getting her gold in her pot. :)
Of course I forgot to take photos of making the rainbow but basically, you take your first colour, bring the ends together in a circle and tape them together. Then loop the next colour through that circle, bring those ends together, tape them, and so on. You are making a rainbow chain. To connect it to the pot, we used the photo squares to stick one end of the black strip to one side of the pot. Then you slip it through the last colour circle and attach it to the other side of the pot. I found that the photo squares weren't quite enough to hold the black handle onto the pot so we reinforced it with tape. Then we hung them from the dining room lights! :)
There you have it! Three pots of gold at the end of three rainbows! Easy craft, kept the kids engaged and interested and we didn't have a huge mess to clean up afterwards! :) Annalise's pot and rainbow is now hanging in her bedroom at her request. :)
P.S. Is it bad to have 3 blog posts in 1 day? :)


No comments:
Post a Comment