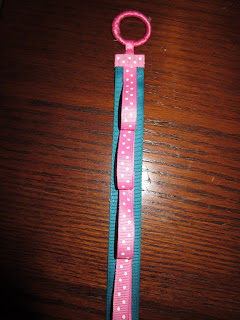
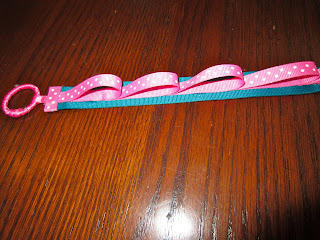
The whole thing ... should have turned the flash off.
The top - close up of the loops
Side view of the loops.
And here it is hanging on the wall with most of the headbands hanging in it. :)
So, I had a 30 inch piece of the blue (wide ribbon), a 15 and a 22 inch piece of the plain pink (narrow ribbon), and 11 separate 5 inch pieces of the in-between width of ribbon (pink with white polkadots) as well as a 1.5 - 2 inch piece of this pink with white polkadot ribbon. The 15 inch piece of the narrow pink ribbon gets wrapped tightly around the ring. The 22 inch piece is looped (about and inch) around the ring and glued to itself. The entire ribbon is then glued dow the centre of the wide blue ribbon. Then you start making loops with the 5 inch pieces. Make a loop by folding it together end to end. Hot-glue the ends together. Hot-glue that edge to the top edge of the blue ribbon so the loop part hangs down. Continue this process down the blue ribbon - gluing the loops just slightly under the loop above. Glue the bottom of the loop above to the top edge of the next loop and so on down the ribbon. You can add embellishments to the bottom if you desire or just leave it plain and simple. I know these instructions don't make a whole lot of sense without progress photos so I hope to do progress photos soon. :)
Annalise is very glad to have her headbands hanging nicely on her wall. (Only a first-born, OCDish child would like organization this much!) :)


No comments:
Post a Comment