Supplies needed: 1 pillowcase, bias tape in a coordinating colour, thread in a coordinating colour, elastic, and a sewing machine (of course).
I totally forgot to take progress pictures and I apologize for that. I just got in the zone and kept going until it was done. :( I'll have to post reminders around me next time to take progress pictures. :)
I looked online for tutorials for the headband and ric rac rose but wasn't pleased with any of them so I sort of just did my own thing.
Here's the dress and headband together. The dress had already been tried on by Emilie so it's all ruffled up already - that's a good thing. :) I used bias tape at the arm holes as per the tutorial linked to above and am so glad I did! Bias tape is my new best friend in sewing. (Darran says that's not very objective and that I'm being biased ... but that's his sense of humour for you!) :)

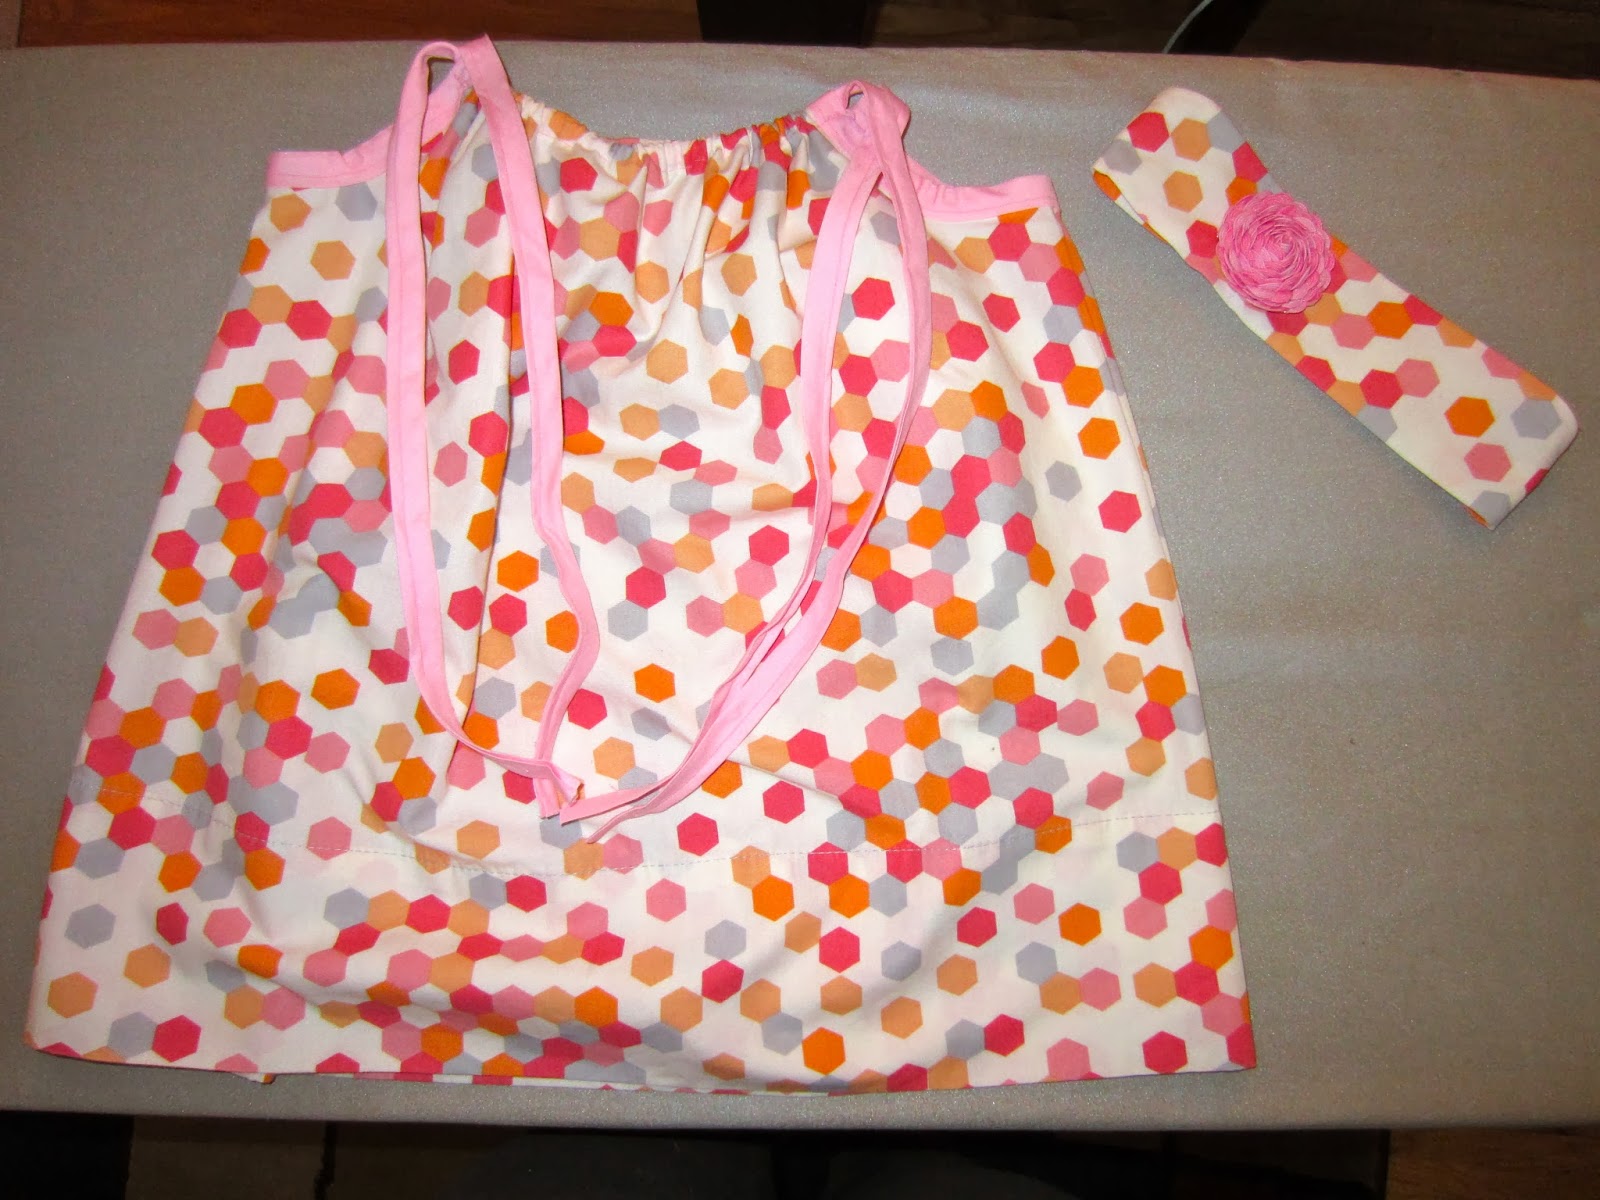
Just the dress here. I LOVE this pattern on this pillowcase. Couldn't find anything that I was this happy with at any other store so hooray for Target!

Here's a close up of the headband with the ric rac rose. For the headband, I just cut out fabric on the fold to the width I wanted and a length that would fit around Emilie's head (or almost around as I was going to add a bit of elastic at the bottom). I hemmed the short ends with a very narrow hem then folded it in half the long way with the right sides facing. I sewed down the long side. Then I attached a safety pin to one short end and passed it through to the other end to turn the headband right side out. this takes time and you need to be patient. :) I cut a 3 inch length of elastic - I had a few different widths, just picked one that fit best in the end of the headband. I needed about 2.5 inches to make the headband fit on her head and then another half inch to allow for the ends to be sewn into the headband. This I did with a straight stitch. Very easy. :) The ric rac rose I did by braiding two contrasting colours of ric rac. I wrapped it around itself (does that sound like it makes sense?) adding a dot of hot glue every now and then to make sure it holds together (I did read this in one tutorial and that was a helpful tip). Then I pushed out some of the layers. I found they didn't like to stay flat so I hot glued them down together to the ones I wanted to stay open would actually stay open. I then hot glued the rose to the headband. I rather like how it turned out. However, Emilie hates anything on her head so I'm sure it won't stay on long. :)

My littlest princess modelling her dress. :) She saw the camera and decided she should sit down. :)

I convinced her to stand up so she decided to run to me - had to snap this picture quickly! :)

And here she's trying to decide if she should sit down or if she should go for a toy she just spotted. :)
I LOVE pillowcase dresses and how super easy they are to make (seriously, the headband probably took longer than the dress). I think I will be making more of these for my girls in the future. :)
No comments:
Post a Comment